How To Create your own Instagram Nametag
Instagram introduced the Nametag back in October 2018 to provide a simple way to collect followers. It works a bit like a QR code that can be scanned by other Instagram users in order to follow you. It seems to have gone down well, even if it was rolled back from Stories.
You may remember QR codes from a couple of years ago. The industry tried to introduce them for advertising but they didn’t go down too well. The QR code could be scanned by a smartphone camera and you would be taken directly to a landing page or website of the advertiser. Too many scams were initiated by plastering fake QR codes over the real ones on posters and billboards. It was a neat idea that wasn’t given the due diligence it deserved. Instagram hopes to join the ranks or organizations who want to change that.
Instagram Nametag
Instagram Nametag is a type of QR code but more secure. It only works within the Instagram network right now and only allows people to follow you. Snapchat have been using a version of this for a little while, as has Twitter, Facebook and even LinkedIn.
Like most things on social media, it has been kept as simple as possible for maximum appeal. Once created, you post your Instagram Nametag for people to scan with their phone and hopefully become followers. It’s marketing gold for companies and social media marketers and I am amazed Instagram have taken so long.
Create an Instagram Nametag
Creating an Instagram Nametag takes just a couple of minutes and will give you an image you can place online wherever accepts them.
To create your Instagram Nametag:
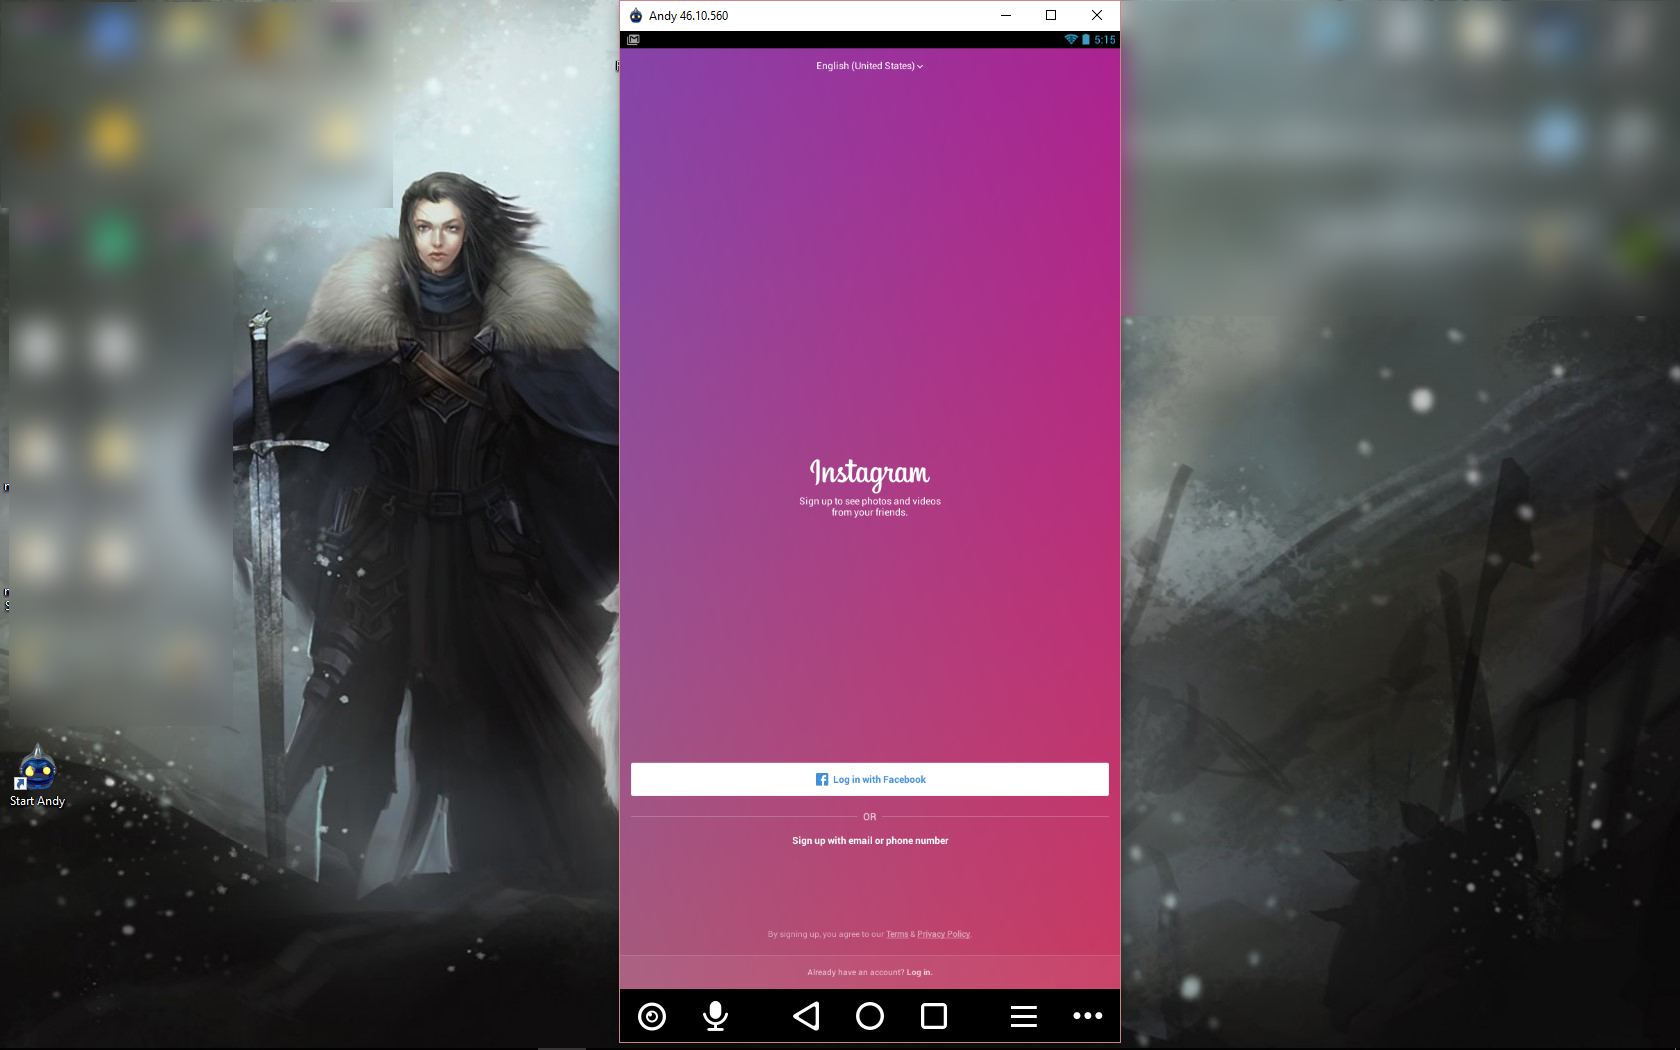
- Open the Instagram app on your device and log in.
- Select the Profile icon and select the three line menu icon.
- Select the new option called Nametag.
- Play around with the options until you’re happy.
- Save your Nametag by selecting share and then the ‘X’ at the top left of the screen.
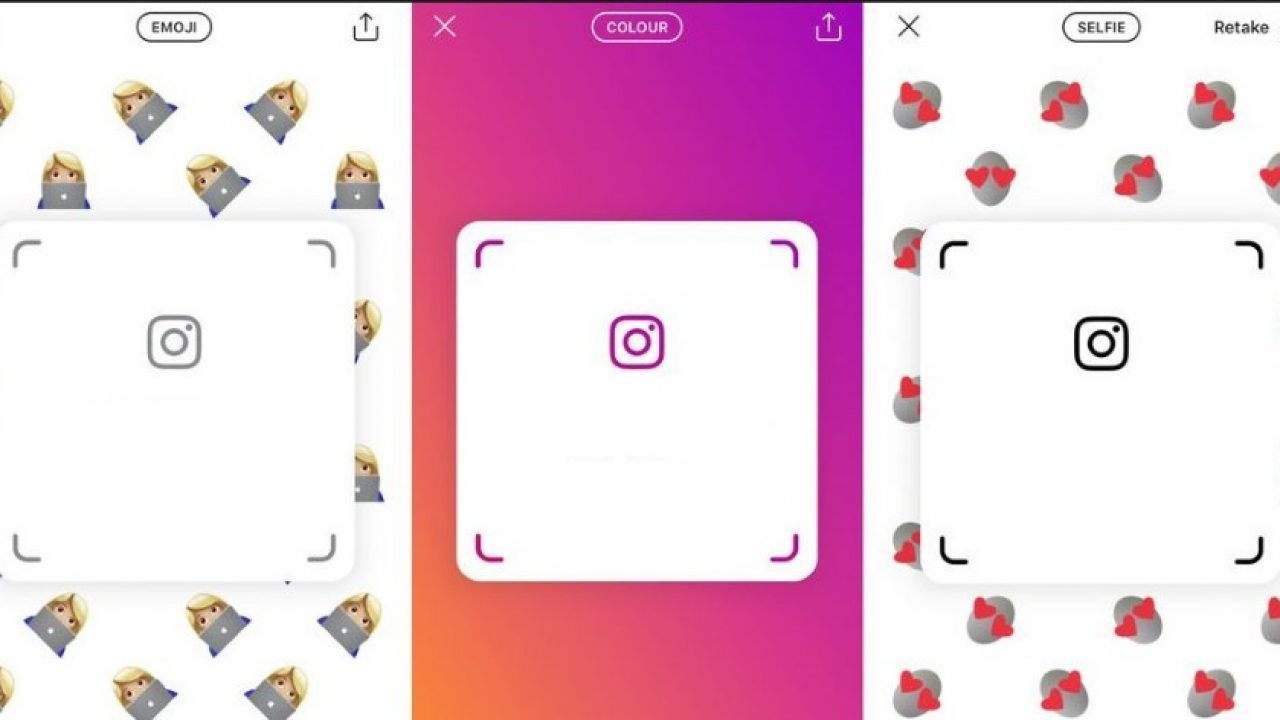
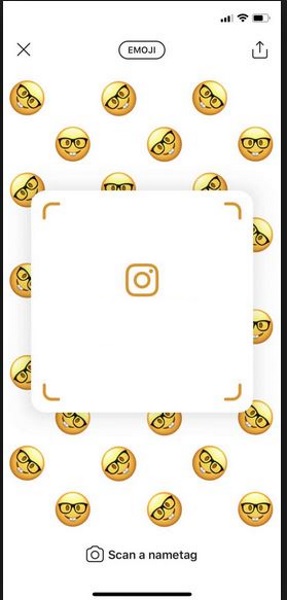
When creating an Instagram Nametag, you have a few design options to choose from. First are backgrounds, you can have a selfie, emoji or a color background. The selfie will open the camera for you to take a new selfie. The usual filters ands graphic options also load so you can add ears, a moustache or whatever if that’s your thing.
For the emoji background, you have the option to select your emoji from the array that appear on the screen. Just select one to change the existing emoji and move on. If the emoji you’re looking for isn’t on the screen, use the search function to find it.
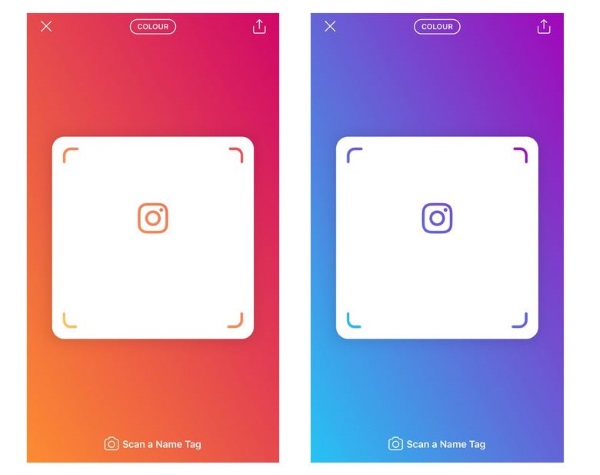
For the color background, just tap the screen anywhere to change the default color. Repeat the tap to scroll through the range of colors available and stop when you’re happy.
Once done, select the Share icon and then the ‘X’ at the top of the screen to exit.
Editing your Instagram Nametag
Once you have created your Instagram Nametag, it saves to your camera roll for use anywhere online. If you’re not entirely happy with how it looks or want to change it, you can. You can access the same Nametag creation options to customize your tag until you’re happy.
- Select the Profile icon and select the three line menu icon.
- Select Nametag and tap to select your tag.
- Use the same selfie, emoji and color options as above.
- Save by tapping Share and the ‘X’
As far as I can tell, you can modify your Instagram Nametag as many times as you like using the method above.
Sharing your Instagram Nametag
You have already seen how to share your Instagram Nametag even if you didn’t pay it much attention when creating your tag. When you go to save your Nametag, you select Share to save it to your camera roll and then ‘X’ out of the screen. To share your Instagram Nametag, you use that same share option.
- Select your Instagram Nametag.
- Select Share at the top right.
- Select one of the sharing options given.
Scanning an Instagram Nametag
Scanning an Instagram Nametag is simple. It works exactly the same as a QR code.
- Open your Instagram camera and direct it at the Instagram Nametag.
- Press and hold the camera button to take a picture.
You will then be taken to that person’s profile and have the option to follow them from there. It’s a refreshingly simple tool that makes it a whole lot easier to follow someone on the social network. Not that it was difficult to begin with but now with a simple pic, you can follow and be followed with ease.
The Instagram Nametag may be a carbon copy of what has gone before, but that doesn’t matter. Any new feature that makes using the social network easier has to be a good thing, right?